

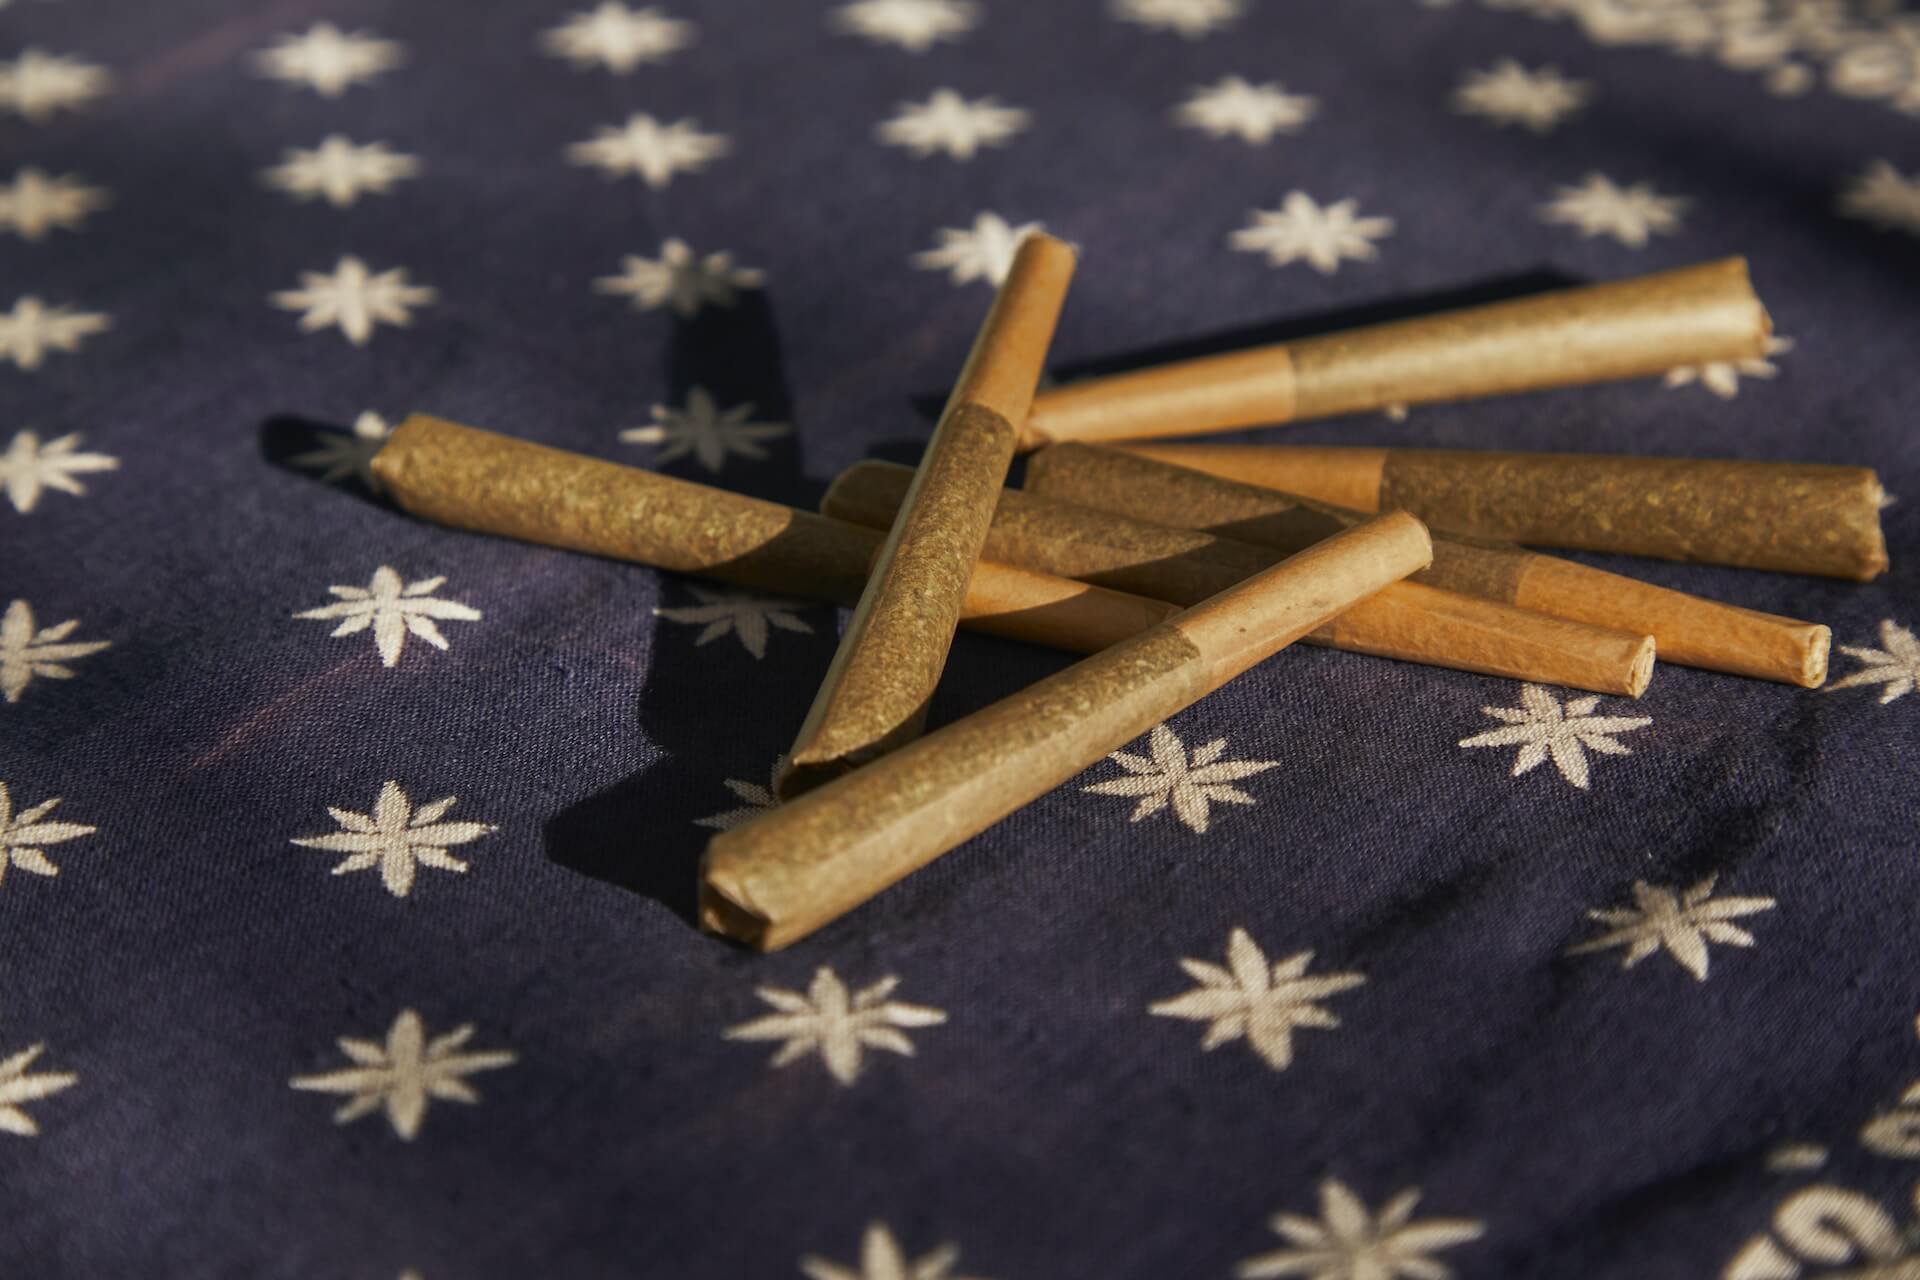
Among the wide variety of ways one can consume weed, joints are easily one of the most convenient, quick and discrete ways to do so, along with being easy to carry and dispose of as well. Joints and cannabis are perhaps as good a combo as PB&J or blueberry and cheese or pineapple and pizza. Maybe not the last one but you get the point!
Joints actually mean something completely different in places like Europe and Asia. In North America, a joint contains only cannabis and nothing else, while spliffs are a combination of cannabis and tobacco. The meanings get switched around once you cross the pond.
What are the steps for rolling a joint?

Photo de Elsa Olofsson sur Unsplash
Rolling a joint is a relatively straightforward endeavour and you need about four items that aren't too hard to acquire. Firstly, you’ll need some rolling paper for the joint. Rolling paper comes in different sizes (there are mini aka 1/4th and king-sized papers), quantities and materials. Hemp paper or even rice paper are popular choices.
Secondly, you’ll need some ground cannabis for the joint. While this is optional, most joints usually also include a crutch that provides support and shape to a joint, while also allowing you to smoke the weed until the last puff.
Finally, you’ll also need a grinder, although you could always crush your cannabis by hand as well. Beginners should keep in mind that if this is your first time rolling, a perfect joint could be unlikely, but it’s also not so important. As long as the joint holds up and it can be smoked comfortably, it should do, so don’t fret over the lack of perfection, we were all new to this once (and it gets better with time don’t worry).
Here’s a step-by-step guide to roll a joint:
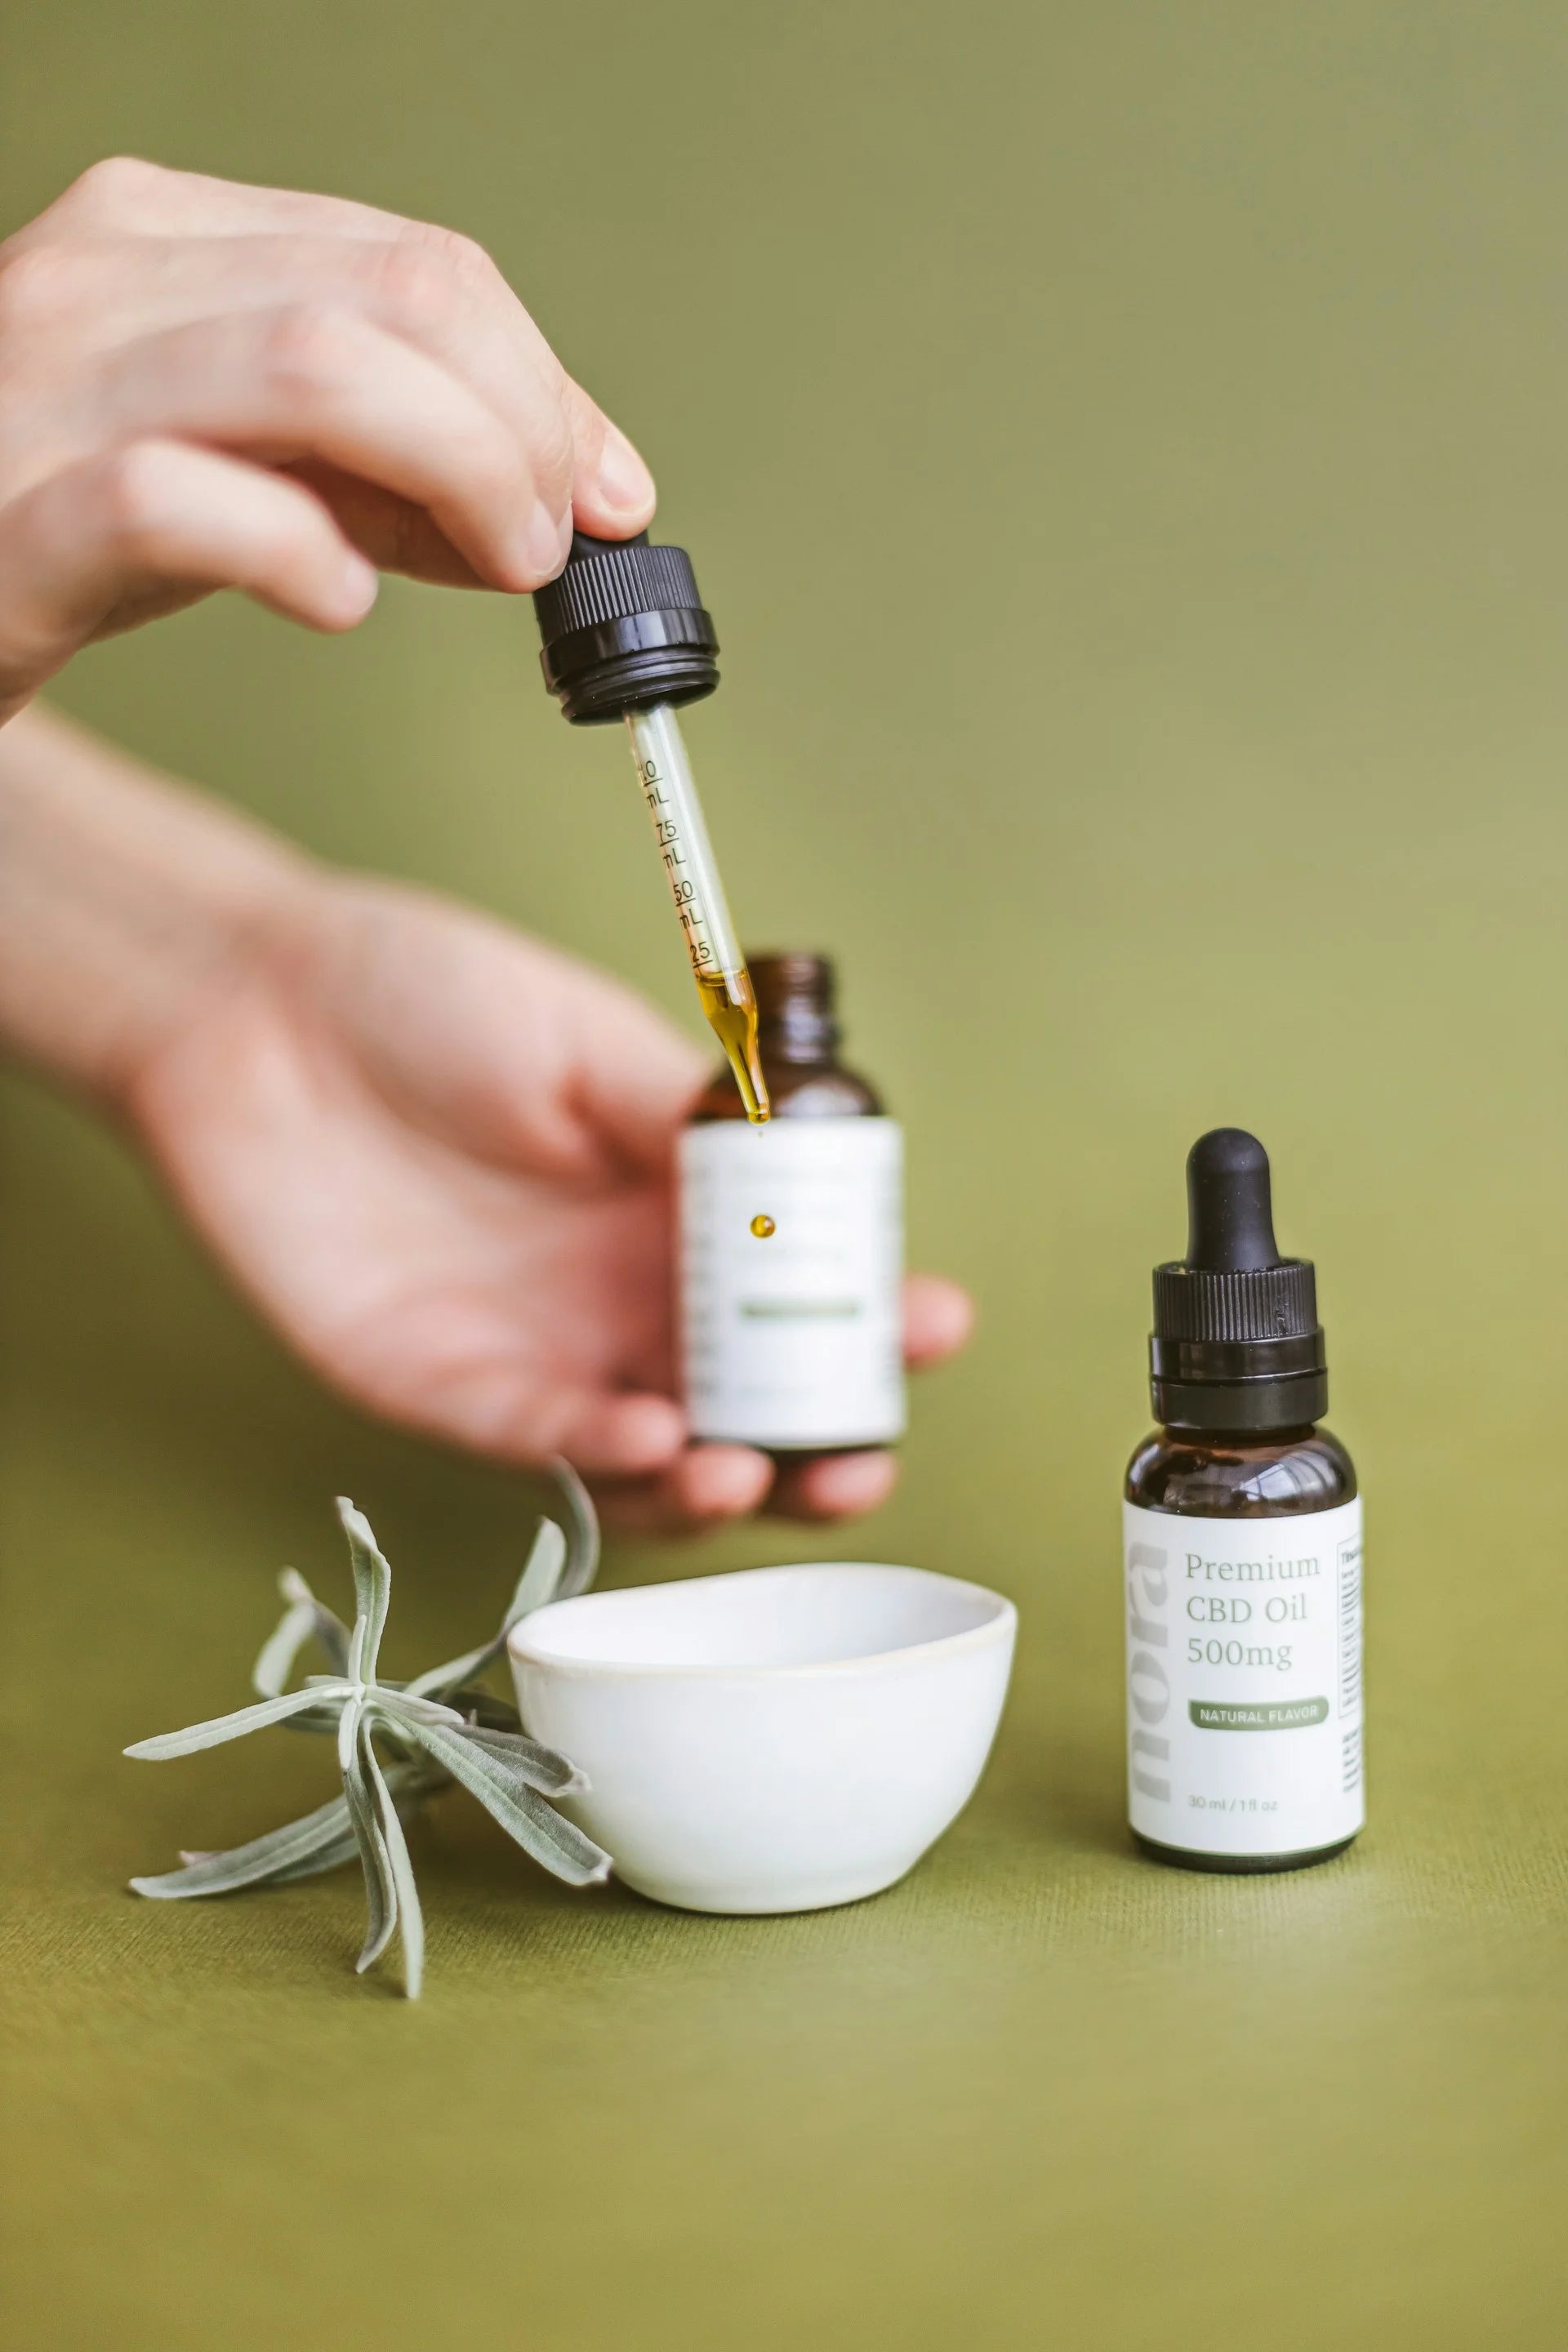
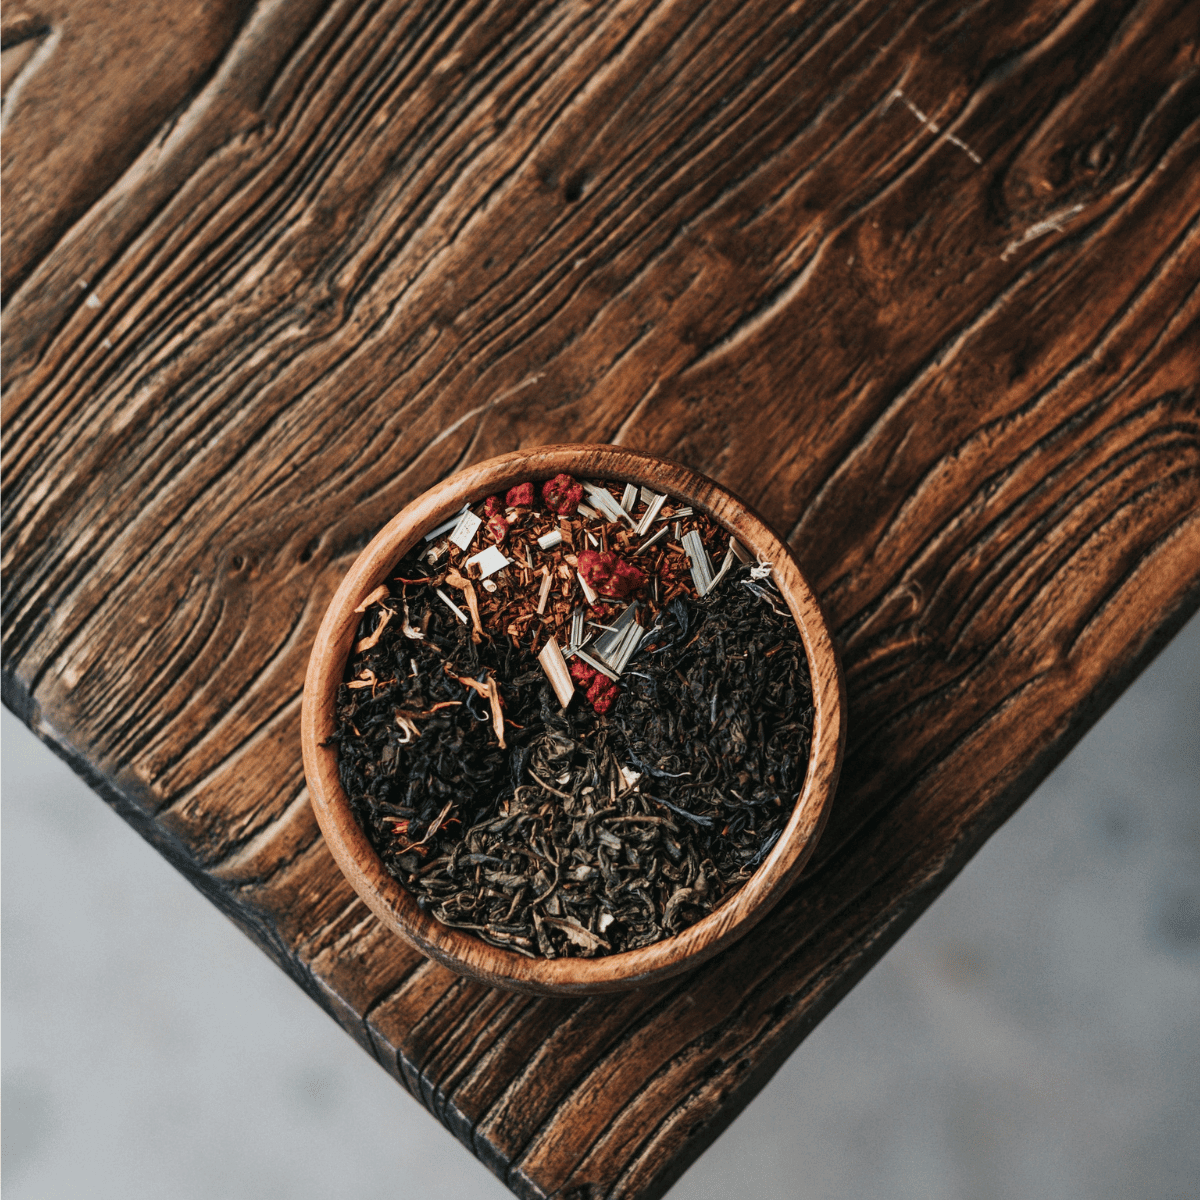
Step 1: Choose and grind your cannabis
This is one of the first steps when you start rolling a joint. Choosing your weed is an important step for some as many people have specific preferences, such as having CBD or THC dominant joints that can give an elevated high or a mellow one. For many, any or most weed is adequate, and so once you’ve figured out what type of pot you want to smoke, the next mini-step is to grind the pot. Make sure that you get rid of any remnant stems or seeds as that can cause an unpleasant high.

Photo de Esteban Lopez sur Unsplash
Using a grinder usually also leaves behind some kief, which is basically powdered weed. Kief has tons of uses, from being a backup to being an excellent way to make cannabutter or even hash/resins.
Step 2: Make a crutch
A crutch is similar to a cigarette filter or tip in some ways and is placed at the end of the joint. Materials like cardboard or thicker paper will be adequate to make a crutch and for a regular-sized joint, the paper for the crutch shouldn’t be larger than a stick of gum. If there’s only regular/thin paper available instead, ensure the size of the paper is larger for the crutch to be firm when rolled. To roll the crutch, make 3-4 folds. These don’t need to be pressed hard and can be folded to form an “M” or “W” shape. This helps airflow significantly.
Once that’s done, you can roll it all together into a cylindrical filter!
Step 3: Choose your paper and fill it up
While this might seem like one of the easier steps, this is the step where you really need to pay attention. Once you’ve got the paper and crutch ready, place the crutch on one end of the rolling paper and fill the paper with cannabis. Once you’ve done that, spread the weed evenly across the paper and make sure that it goes along the line and width of the crutch so it’s easier to roll. The amount of weed you put in is dependent on the type of joint you want; some are slim and evenly distributed (slim-jims) while some are thinner towards the crutch and fat towards the end. It boils down to personal preference!
Papers for rolling come with a sticky side made to help roll and keep the joint together, so ensure that the sticky side of the paper is facing you/up when rolling. Use both hands to pinch the paper and shape the weed inside into a tube. This helps in making the joint just that little bit better for an excellent smoking experience.

Photo de Ian Deneumostier sur Unsplash
Step 4: Roll it up!
After you’ve put the paper, crutch and cannabis together, it’s time to roll it up. Take the non-sticky end and tuck it in the small gap between the crutch and paper and slowly make your way from the crutch to the top.
Try and get multiple “tucks” in as you try and roll it into a cylindrical or cone shape. If you’re unsure about whether the roll will be tight or not, you can keep part of the crutch outside the joint and tuck it in once you’ve rolled it. If you’ve managed to tuck the non-sticky side in, continue rolling and make small adjustments if the pot is falling out or the filter tip has a gap.
Lick the sticky side as you get close to a cylindrical shape and line it up as you move up. You could tap the base of the joint on a flat surface for the joint to be well distributed before you close up the top, but most people also use a chopstick or a pen to push it in. Dealer’s choice!

Photo de Chase Fade sur Unsplash
Step 5: Light it up!
Once you’ve rolled your joint, it’s time to light it up and smoke it. Some stoners insist on “roller’s rights”, where the person who rolls, lights the joint. If this is your first ever joint, that applies doubly so! Smoke that doob and have a good time!
*This article is not to be interpreted as a statement of any form by Spliff but merely a compendium of information compiled from other sources. These statements have not been evaluated by Health Canada, FDA or any other regulatory body. Consult your doctor before ingesting or smoking any herbal product.*
Leave a comment
All comments are moderated before being published.
This site is protected by reCAPTCHA and the Google Privacy Policy and Terms of Service apply.